Inside: Want an easy way to save money and some time? Check out how to use a vacuum sealer like a pro. You can easily save lots of money and save a little time too.
I used to love to watch infomercials when I had nothing else to do. The kitchen gadgets always promise to make your life easier and save you so much money. The food sealer was one of my favorite infomercials.
Despite loving the informercial I figured that the food sealer wouldn't be very helpful in our kitchen. I put off buying one for years until about 2 years ago I found one on a deal at Aldi.
It was $20 (Aldi no longer has this deal, but here is a similar one) and came with some of the plastic to seal the food.
I thought for $20 we could give it a try and donate it if we ended up not liking it. After a couple of years of owning a vacuum sealer, I can honestly say it is one of my most used kitchen appliances.
I love how I can easily save time and money using it. If you were ever wondering if a food sealer is worth the money check out how to use a vacuum sealer like a pro! You can easily vacuum seal chicken, beef, and more!
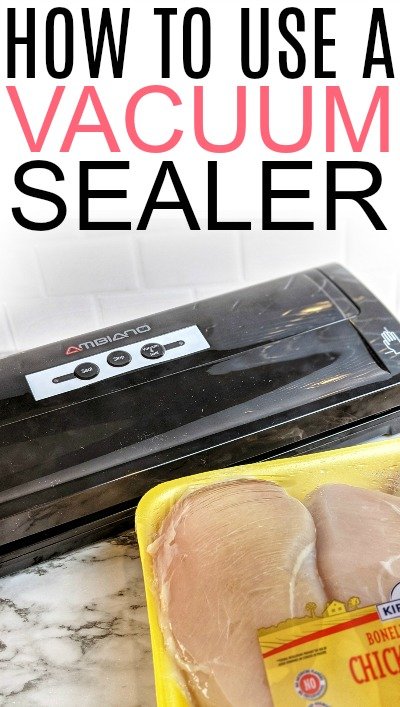
How To Use A Vacuum Sealer Like A Pro
We mostly use the vacuum sealer to freeze meats. The trick to saving a lot of money is to buy the large family packs of meat when they go on sale. Aldi had boneless skinless chicken breasts on sale for $1.49 so I picked up 2 large packages.
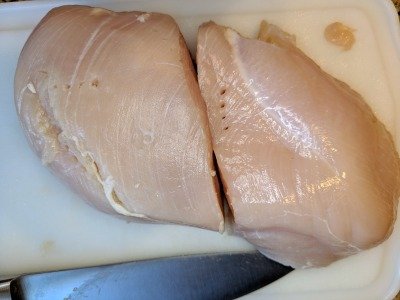
You will want to start cutting off any of the fat or parts of the chicken breast or meats that you don't want on there. I am pretty picky so I remove almost any little bits of leftover fat. Then cut them into the portion sizes you want. I like to cut the large chicken breasts in two, but if you like tenders you can cut them down into even smaller pieces.
Next, divide up the meats how you want to use them. We usually eat 2-3 pieces of chicken breasts so I divide them out like that. If you have a larger family and will eat more each time then you may want to add more to your bags.
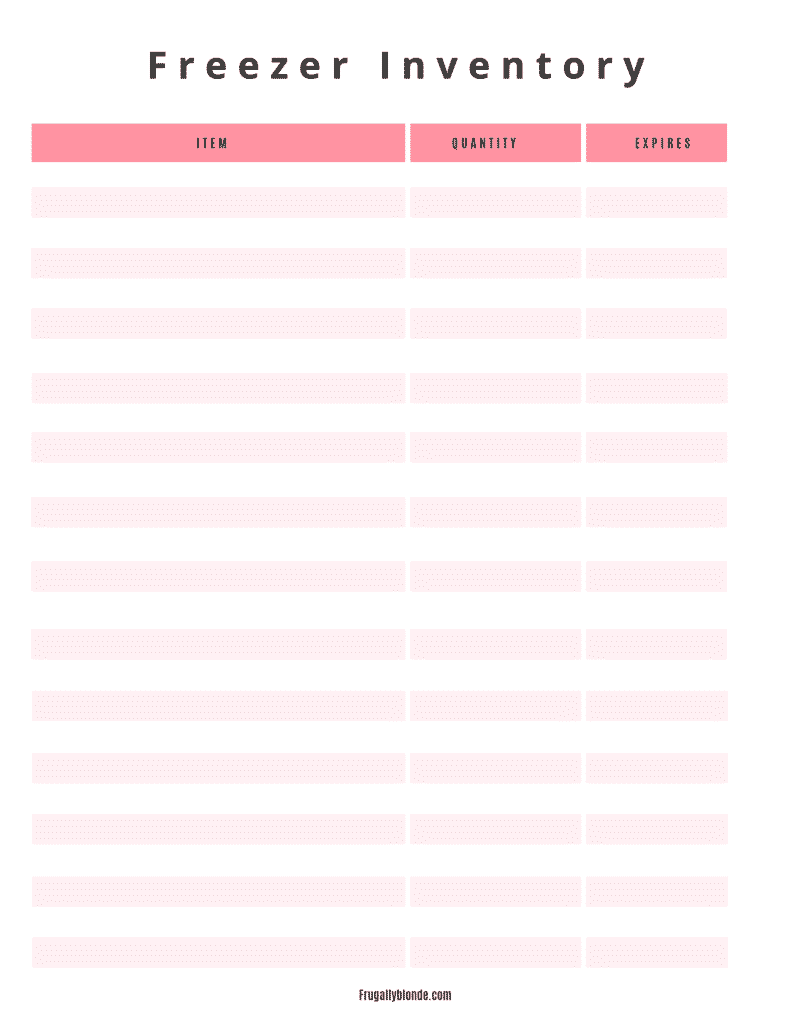
Keep track of what's in your freezer!
Get the free Freezer Inventory printable!
I like to buy rolls of vacuum sealing so I can cut my own size bags. If you are using pre-made bags you can just put the meat in the bag. If you have the rolls you will want to cut out the amount you need. I like to cut out a little extra, especially when I am vacuum sealing meats.
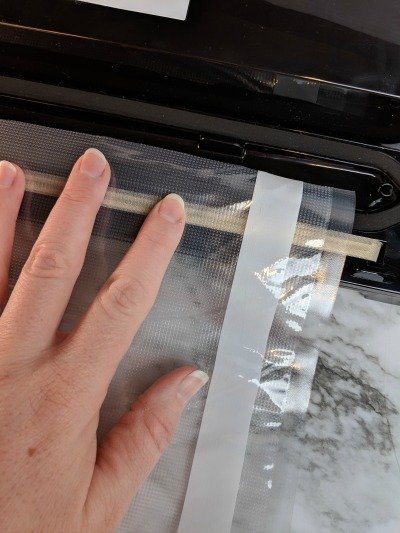
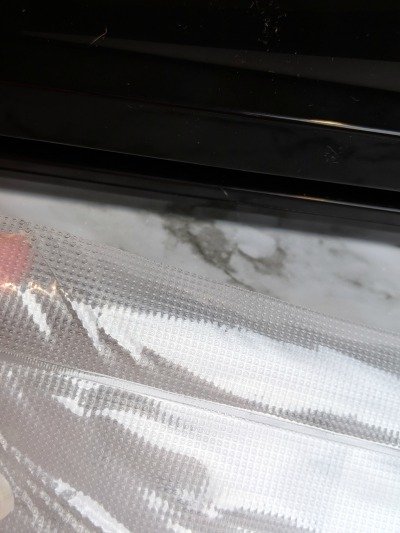
Once you have your bags cut you will want to seal the first side of the bag. Just insert it in the vacuum sealer, close the lid, and press the seal button. When it is done remove the bag and finish doing all the bags. You can see below how well it seals.
After you have finished sealing the bags on one side you can now put the food in the bags. Make sure you don't overfill the bags. Leave room for the bags to be sealed.
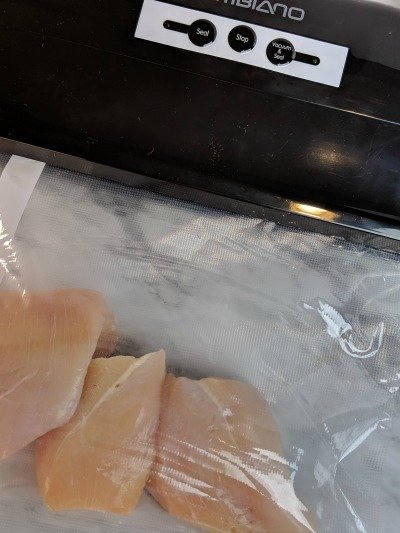
When you have filled all of the bags you can now vacuum and seal them. Put the unsealed end back in the vacuum sealer, shut the lid, and press the vacuum and seal button. The lights will go off when it is done. Then you can remove the bag from the sealer.
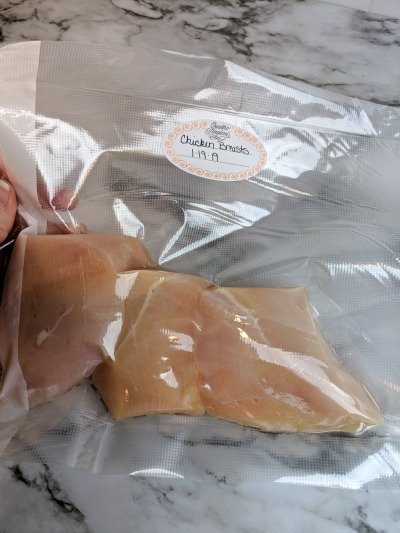
Add a label with a date to the vacuum sealed foods so you remember when they were done.
Once I was done sealing I can just store the chicken breasts in the freezer. It's easy to grab a bag out of the freezer and let it defrost. I don't have to worry about prepping the chicken the day that I use it. Not only does it save money by purchasing the larger containers when they are on sale, but you can also save time by doing all your prepping at one time.
You can easily use the food sealer on chicken breasts, ham, ground beef, pork and plenty of other things! You can just buy a little extra of whatever your family loves to eat and vacuum seal and freeze it.
Save yourself a little time each week and have some money left over in your budget with these easy tips on how to use a vacuum sealer. You will love how easy it is! Don't want to buy a vacuum sealer? Check out how to seal bags without a sealer.


Diana says
Hi Julie,
I also purchased one of those vacuum sealers at Aldi a few years ago, and it has been great! It's very easy to use, and we've saved money by buying meat in bulk when it's on sale and dividing it into meal-sized portions. I've discovered an easy way to divide ground beef or chuck into freezer portions for hamburgers is to make a giant "meatball " for each, and seal two per bag. When you're ready to grill, just thaw the amount you want & shape the meatballs into patties.
Thank you for passing on all the neat tips and products you've discovered!
Julie says
Thank you for sharing! I wanted to try vacuum sealing with hamburgers, but wasn't sure how to keep them from mushing together when I did the vacuum sealing. I will give your giant "meatballs" a try next time I get a good deal on ground beef. Thanks again!