Tired of a dirty, dusty exhaust fan in your bathroom? Check out how to clean a bathroom fan like a pro. Get rid of the dust and grime today! Easily find out how to clean bathroom fan with light.

Are you dealing with mold and mildew in the bathroom? Your bathroom exhaust fan may need cleaning.
We all have those things around the house that we know we need to clean but put off doing forever.
For me, it is the bathroom exhaust fan.
Our exhaust fan in our bathroom water closet has a light fixture built-in so we sometimes even get bugs in our fan. I know, so gross!!
I recently went and did a really good cleaning of the bathroom exhaust fan. I thought I would take a few pictures and share my favorite tricks for cleaning a bathroom exhaust fan.
You can see below my tips on how to clean a bathroom fan like a pro.

How To Clean A Bathroom Fan
To clean your bathroom exhaust fan you will need a few things.
Note: Depending on how tall your ceilings are you may need a ladder to access it too.
Items You Will Need:
- Dawn Soap (or any dish soap)
- Scrub Brush
- Vacuum
- Old Toothbrush (or denture brush)
I also usually grab an old towel to lay the fan out to dry on after cleaning it too.
Also, before you get started I recommend turning off the breaker for electricity in the room you are removing the fan. You don't want to risk getting injured.
Why You Need To Clean A Bathroom Fan?
Bathrooms tend to have a lot of moisture from showers and baths. By using your bathroom exhaust fan you can help stop the moisture from gathering in your bathroom.
This will help cut down on moisture and prevent some mold and mildew.
However, if you don't clean your bathroom exhaust fan regularly it won't work right and can't remove all of the moisture.
Follow the tips below for cleaning a bathroom exhaust fan and keeping your home free from mold and mildew.
Steps To Clean Bathroom Fan
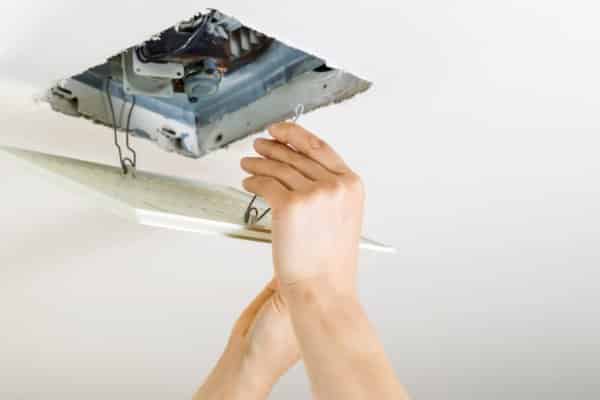
To get started you will want to remove your fan cover from the ceiling. As I mentioned above you may need a ladder to do so.
Note: If you have a light on your bathroom fan you will want to remove it first. Then, remove the actual fan cover.
Keep in mind if you haven't cleaned it in a little while a lot of dust may come down with it.

Vacuum The Fan
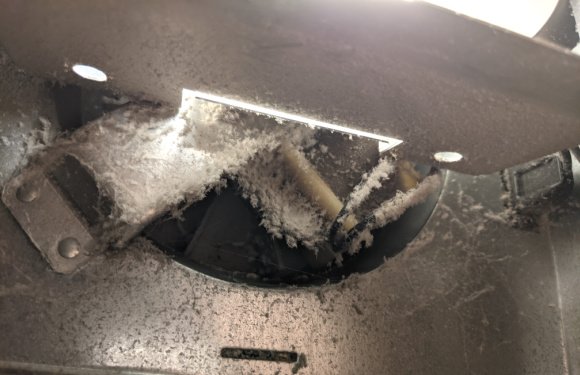
Once you have removed the exhaust cover and light you can vacuum the actual fan. As you can see from the picture mine was covered in dust and grime.
I vacuumed the fan blades, then turned it on real quick and vacuumed one more time. This really helped loosen up a bunch of dust.
If your fan cover has a lot of dust on it you may want to give it a quick vacuum too.

Washing The Bathroom Fan
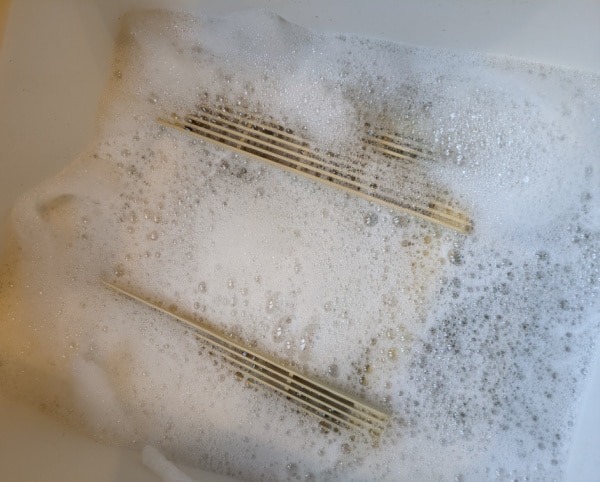
Once you have vacuumed the fan and the covers I recommend soaking them in some hot soapy water.
Just fill your sink up with warm water and a couple of squirts of Dawn soap. Then, let the fan cover and light cover soak for about 10 minutes.
After ten minutes then you can use a toothbrush to clean any leftover dust from the cracks of the fan cover.
Next, rinse the bathroom exhaust fan cover and let it air dry along with the light cover.

Free Weekly Cleaning Printable
Clean your home in under 30 minutes a day with this free Weekly Cleaning printable!
Put The Bathroom Fan Back Together After Cleaning
After your bathroom fan cover is dry you can put it all back together again. You will want to make sure it is 100% dry since you are installing it near live wires.
Once your fan is reassembled you can go back to using it.
By keeping your bathroom exhaust fan clean you can help keep the humidity out of your bathroom and prevent the growth of mold and mildew.
Just a little time spent every 3-6 months cleaning the bathroom fan can help keep the bathroom cleaner.


Carol says
Thank you. That was a great idea.