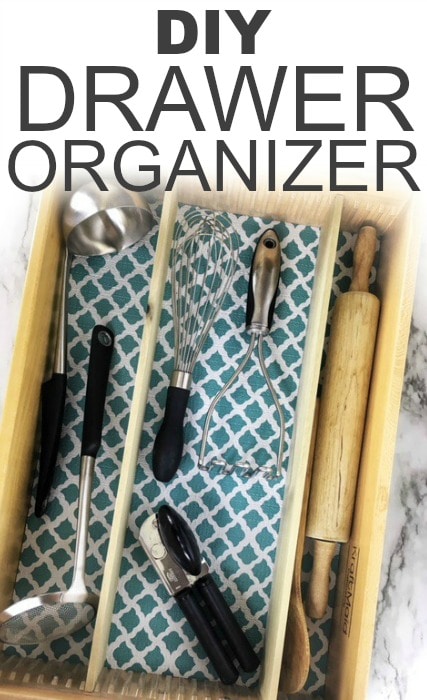
Inside: Tired of messy drawers? Check out this easy to make DIY drawer organizer. These homemade dividers help you quickly and easily organize your drawers.
I have had a drawer in the kitchen that was driving me crazy. I felt like it was nearly impossible to organize.
Some of my kitchen drawers are smaller and so it doesn't work with most drawer organizers that you see in the store. The ones that did fit in the drawer were just about useless and just slid around in the drawer.
I really wanted a nice-looking drawer organizer. I didn't want a cheaper cardboard organizer that would just fall apart after a little while.
If you are anything like me you are spending time on Pinterest and Instagram just drooling over perfectly organized drawers.
I had just about given up on ever organizing the drawer when I saw a DIY tutorial someone had used for their desk drawer.
I thought it would be easy to adapt to my kitchen drawer and organize it. It works great in just about any sized drawer and will help keep your drawers well organized.
If you are looking for some easy DIY drawer dividers or organizers check out this easy tutorial below.
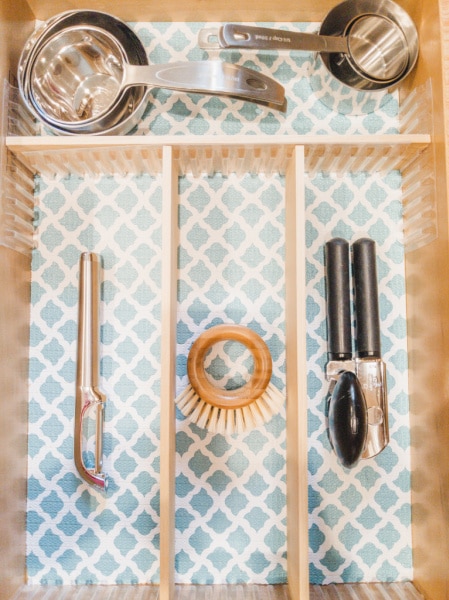
DIY Drawer Organizer
If you have been looking for that perfect solution check out this easy to make DIY drawer organizer. It works great in anything from kitchens to closets.
These homemade drawer dividers would work for so many drawers around the house.
A few ideas to get you started are:
- Kitchen Utensil Drawer (or knife drawer)
- Junk Drawer
- Sock Drawer
- Makeup or Accessories
It is simple to make these drawer dividers for kitchen drawers or for your dresser drawers.
You can also see how I used the DIY drawer organizer for how to organize Tupperware.
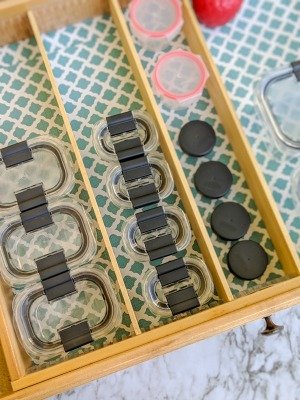
You can see how to easily build it and a few ideas in the video below!
Materials Need For Homemade Drawer Organizer
You only need a few materials for this drawer organizer. You can either get everything you need in the store or order them online.
The thing I love about these materials for the DIY drawer organizer is they won't tear up your drawer! My husband wanted to make sure that there wouldn't be anything glued or screwed into our kitchen drawers.
- Drawer Liner (I use this one)
- Binning Strips (you can get them on Amazon)
- Wood Slats
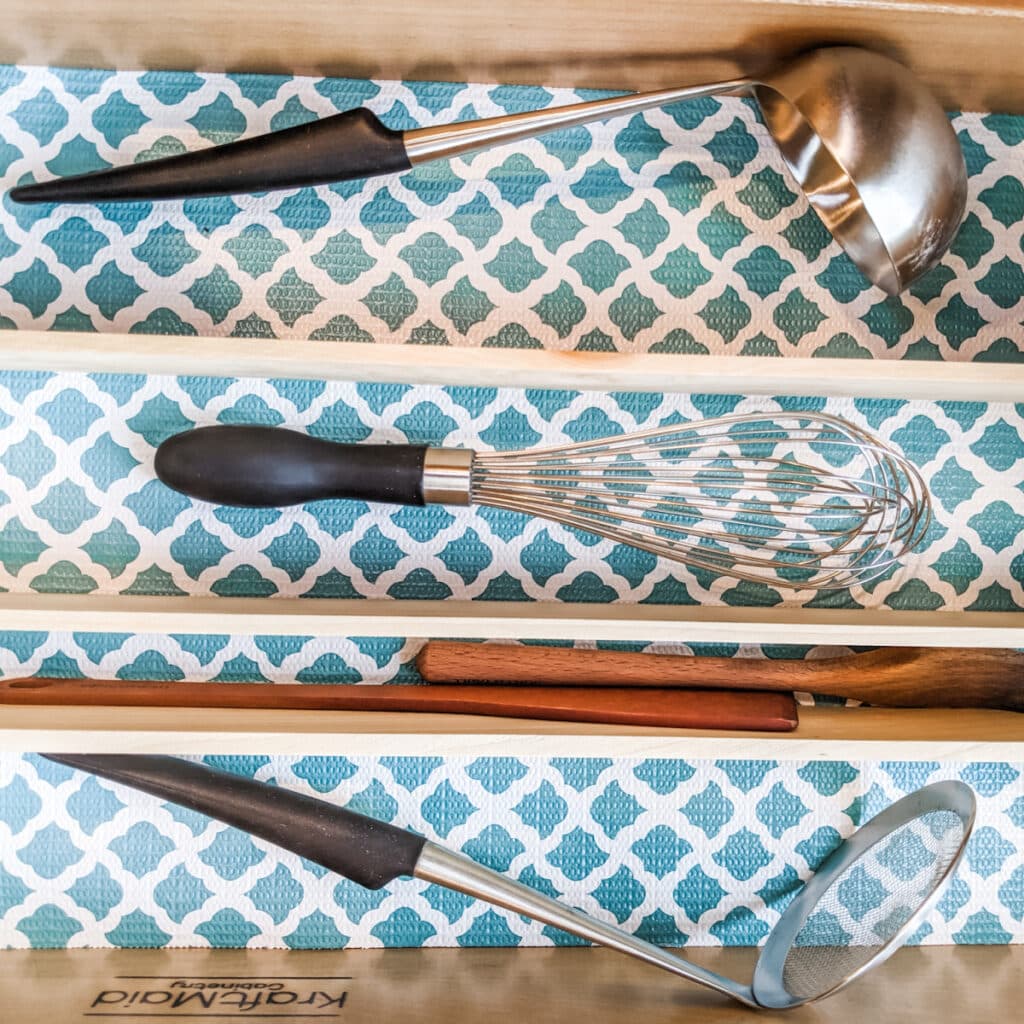
Getting Started
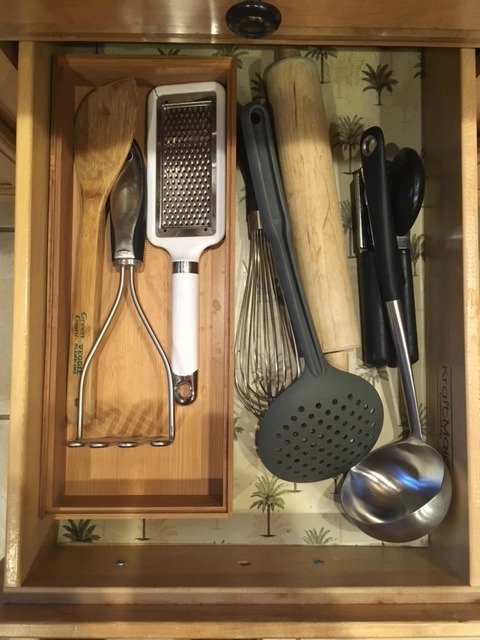
You can see below how messy and unorganized my drawer was before I made the drawer organizer. I had a bamboo box that was doing nothing to organize it.
I donated the cheese grater that was in the drawer and the bamboo box. My plastic strainer was broken in a few places, so I bought a new one and threw out the old one.
If you are getting ready to organize a drawer I always recommend going through the drawer and getting rid of what you don't need.
It only takes a few minutes and it makes a drawer WAY easier to organize if only have what you really use in it.
Install a Drawer Liner
To start you will want to cut your drawer liner to the size of the drawer. Then install the drawer liner if you are using one.
I personally like using drawer liners. They make it easy to wipe down the drawer and add a splash of color to the drawers.
Install The Binning Strips
Next, to make the DIY drawer organizer you will need the binning strips.
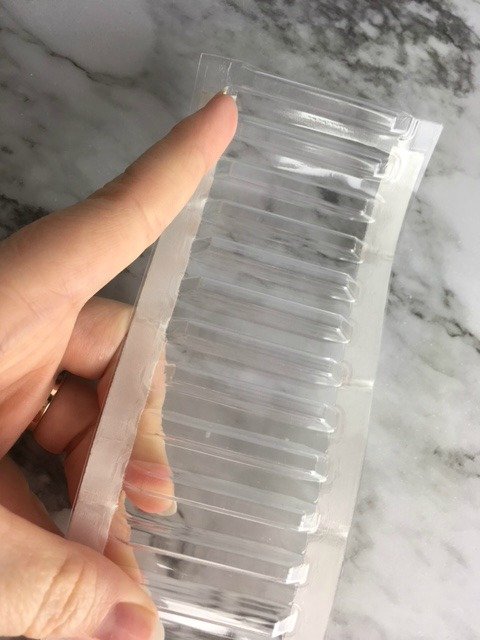
You can get binning strips at Rockler or on Amazon. Binning strips come in different sizes, so you can buy taller or shorter ones if you need to fit any drawer.
The binning strips above come in a 5-foot length and are plastic so easy to cut with scissors. They have an adhesive back to attach to drawers. They are really easy to use.
Then, cut your binning strip to the size you want it. There are two ways to do this. You can run your binning strip the whole length of the drawer so you can move your wood slats around if you want.
Or, you can also just attach a couple of slots of the binning strips to your drawer to use less of the binning strip.
Since my drawer is smaller I ran the binning strip the whole width of the drawer. I thought it was worth the extra money spent to be able to move the drawer dividers around.
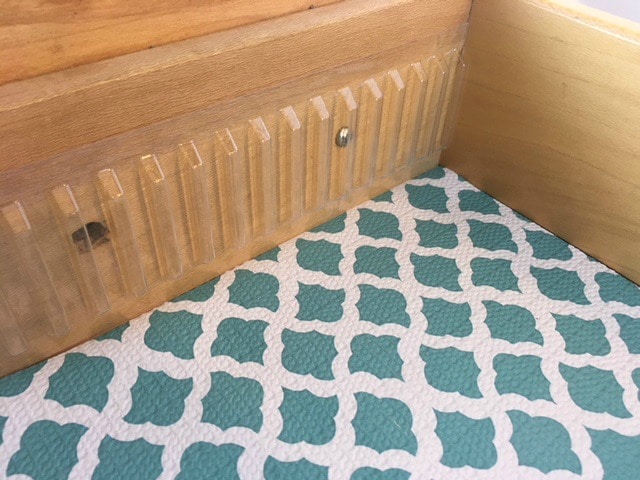
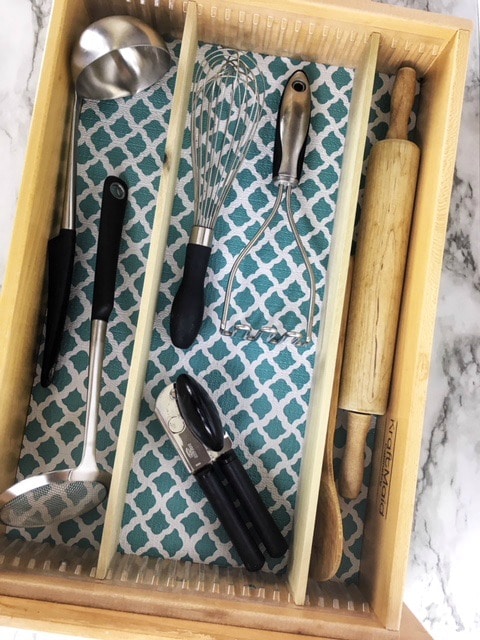
Remove the paper from the back of the binning strips and carefully stick it to the drawers. You will want to make sure that your spaces line up on both sides of the drawer. This way your slats aren't angled when you install them. You can see below the binning strips are hardly noticeable once you get them installed.
Adding Wood Slats as Dividers To The Drawer
Once you have the binning strips installed then you can cut the wood slats for your DIY drawer organizer.
Your wood slats should also be around the same height as your strips. Of course, the most important part is you want your wood slats to fit in the slots of the binning strips.
Bonus Decluttering Tip!
- Sign up for the free 7 day decluttering challenge to declutter your home and life! Say goodbye to clutter and junk mail. Head over here here to sign up for the challenge.
I bought a poplar board that was 1/4" thick and 2 1/2 " tall to work with the binning strips on Amazon or at Rockler.
Measure the length needed for the wood drawer dividers and then cut.
If you don't have a good way to cut the wood at home you can have it cut at the hardware store. Usually, Lowes and Home Depot will cut wood for you.
When you have your wood cut just place it in the slots that you want to use and your drawer organizer is ready to go. If you want to seal your wood you can use a wood conditioner.
My drawer looks much better after making this DIY kitchen drawer organizer. It may sound crazy but it makes me happy every time I open the drawer. Plus, I can easily find everything. I love having a well-organized drawer.
I bought the binning strips with a coupon from Rockler and have used less than half of the roll. The wood slat was $2.50 from Menards.
Total it cost me about $10 to organize the drawer. Not only is that cheaper than most drawer organizers, but I will be able to change things around if I move more stuff into the drawer.
If you are dealing with messy drawers and aren't sure how to organize them I highly recommend trying this easy DIY drawer organizer. It will make your life easier!
Want some more organizing tips? Check out how to create an organized party pantry in your home. You can be organized and ready for just about any party.


Rita says
Julie,
I couldn't find the binning strips on Amazon nor on Rockler. I did find the strips at Outwater Plastics priced at $5.99 for each 60 inch strip. The shipping cost more than the two strips I ordered but I felt it is worth it.
I'm already dreaming of more organized kitchen drawers. 🙂
Ali says
Where can I buy affordable binning strips in Canada? The link to Amazon that you provided led me to Amazon.ca where the price for the binning strips was:
Price: CDN$ 87.99 + CDN$ 5.59 shipping
I’m not prepared to pay almost $100 for DIY drawer organizers!! A cheaper option??!
Julie says
Wow! $100 is crazy expensive. In Canada try Outwater Plastics. It is a catalog company that sells very similar binning strips. Hopefully, the prices and shipping will be much lower. I hope that helps!