


Inside: Reuse those pretty glass jars by removing the labels. Check out the easiest way to remove labels from jars.
Recently I have been trying to use less plastics around the house. I am slowly replacing our plastic Tupperware with glass.
I was getting ready to throw out a jam jar when I realized it would be great for storing things in. It's similar in size to most of our tupperware so I removed the label and washed in the dishwasher.
If you have a label you want to remove from glass or plastic check out these easy tips below.
How To Remove Labels From Jars
Do you ever try to remove the labels from jars, only to get frustrated after days of scraping and soaking? I used to have the same problem until I found the best way to remove labels from jars. No more spending hours scraping away at labels. It works great for plastic and glass jars!
Getting Started
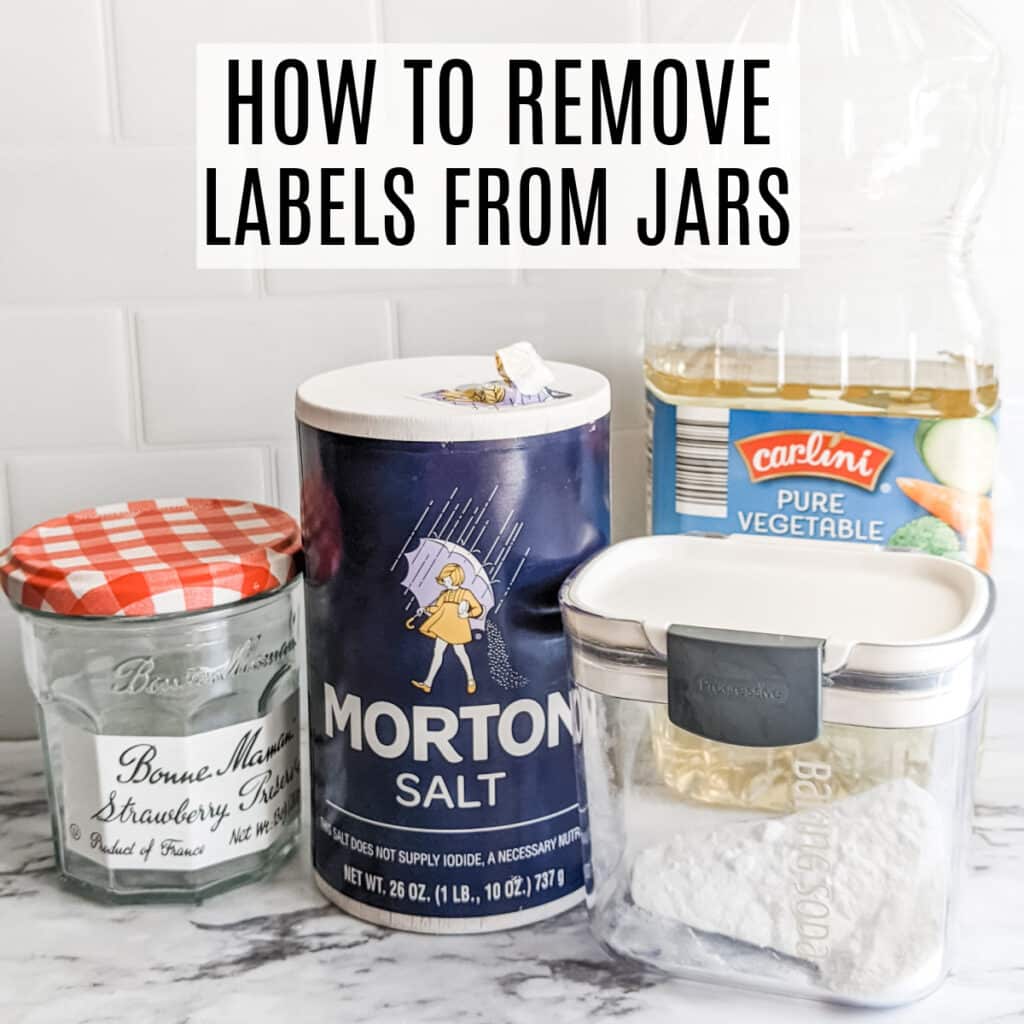
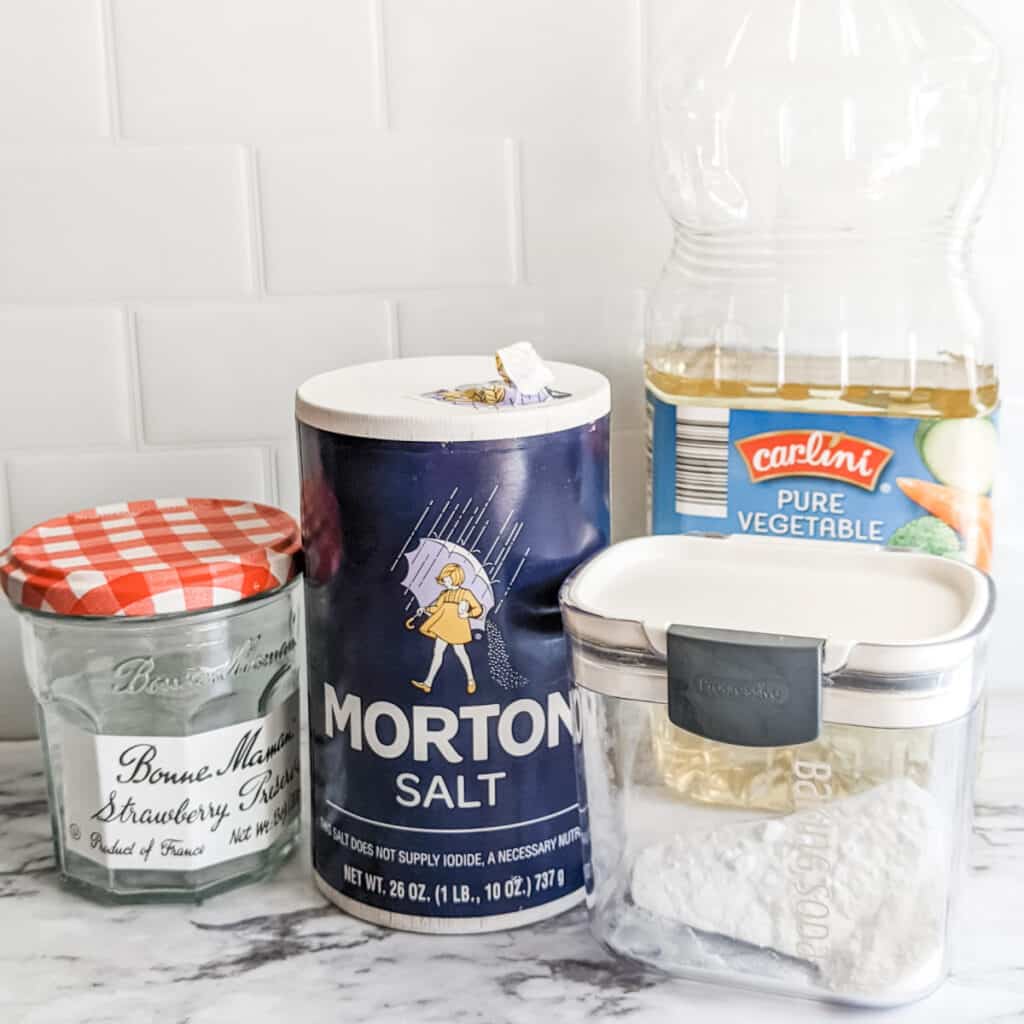
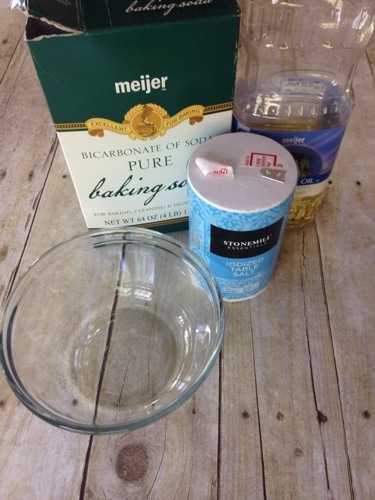
To remove the label from a jar you will need a few things.
- container to soak the jar
- salt
- baking soda
- oil
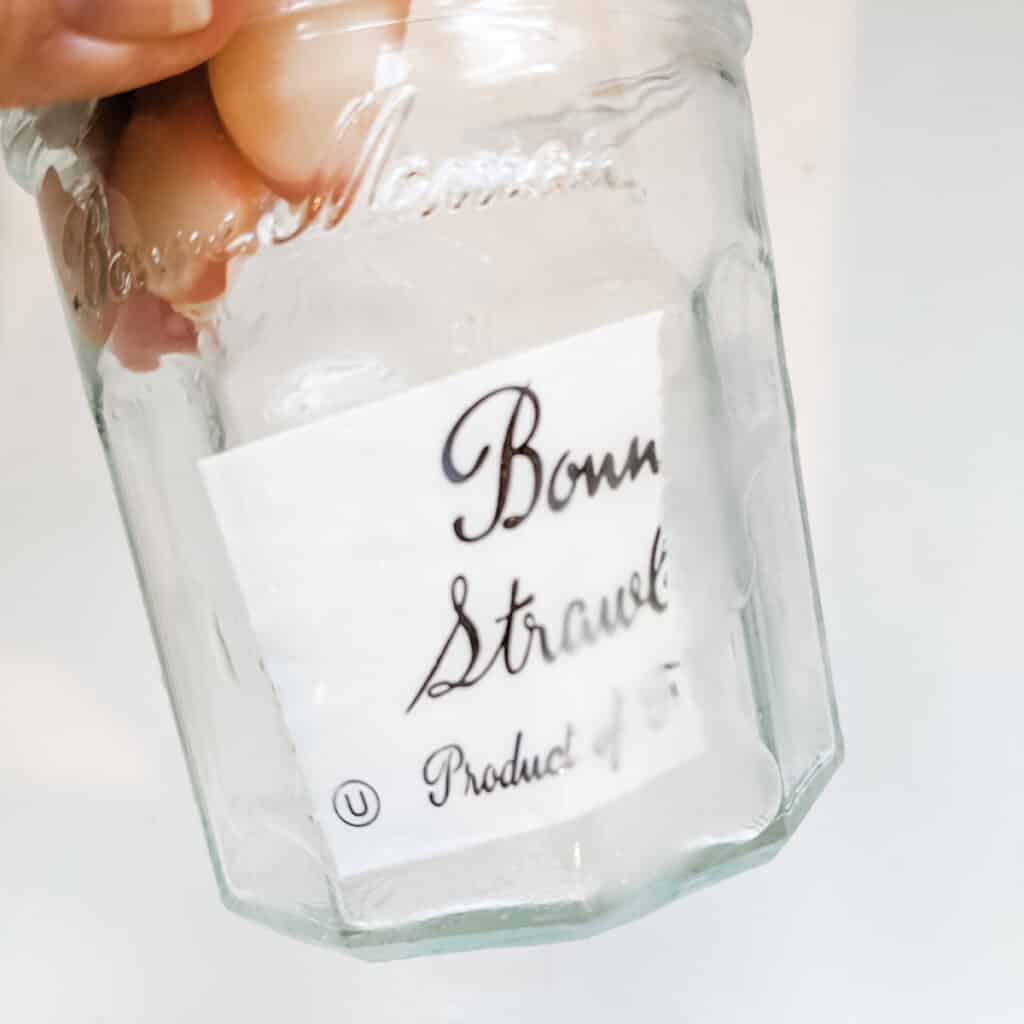
To remove the labels on jars you will want to start by soaking the containers in water for about 20 minutes. I recommend using so hot water so it helps with the glue that holds on the label.
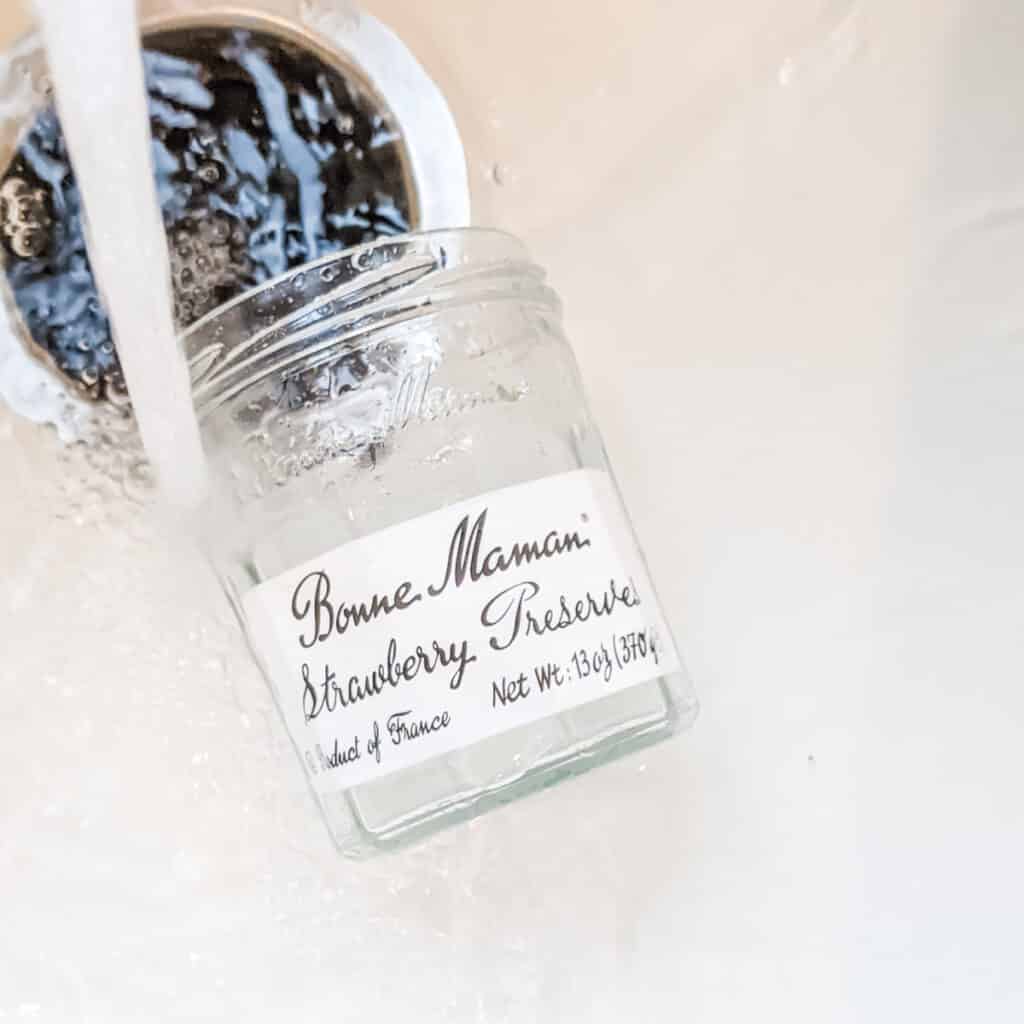
Sometimes, soaking will remove about 99% of the label. It just kind of depends on the label that is on the jar.
Free Weekly Cleaning Printable
Clean your home in under 30 minutes a day with this free Weekly Cleaning printable!
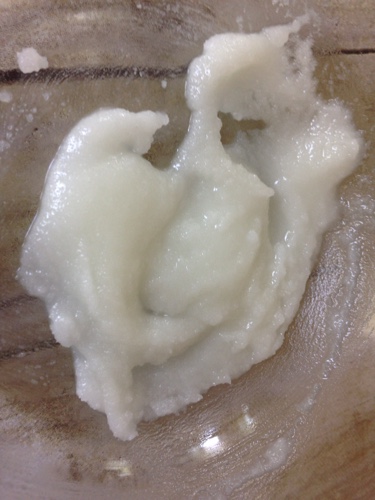
While the jar is soaking you will want to mix up a paste to help remove all of the labels or you can also use goo gone. I often use my homemade goo gone on labels too.
In a bowl mix up 1 tablespoon baking soda, 1 tablespoon salt, and 1 tablespoon oil. This will make a very thick paste.
Remove the jar from the water and rub the paste over the jar. Make sure you get all the areas covered. I just use my fingers to rub the paste in.
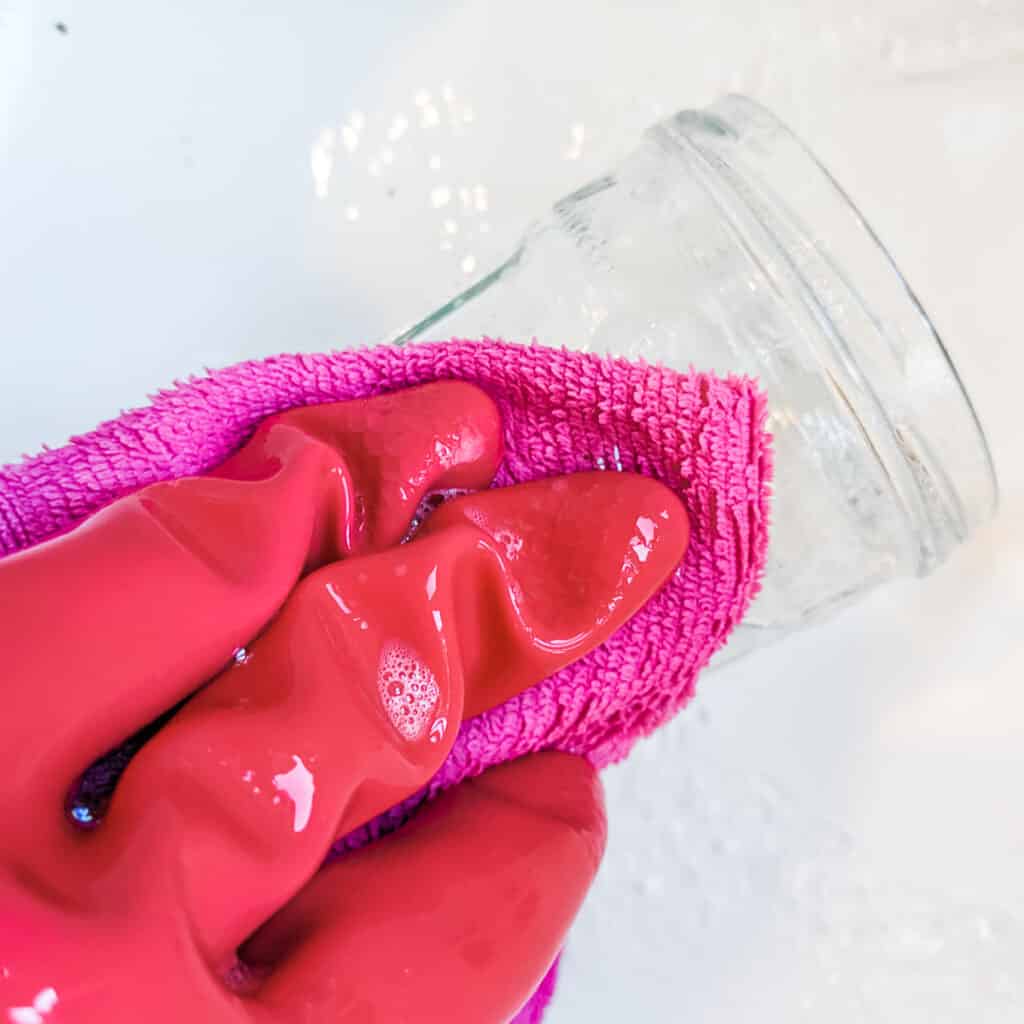
Let the jar sit for about 10 minutes to really let the oil soak on the label. Once the oil has started to soak in, you can easily scrub the jar to get the label off. The baking soda and salt mixture will help scrub any sticky left on the jar.
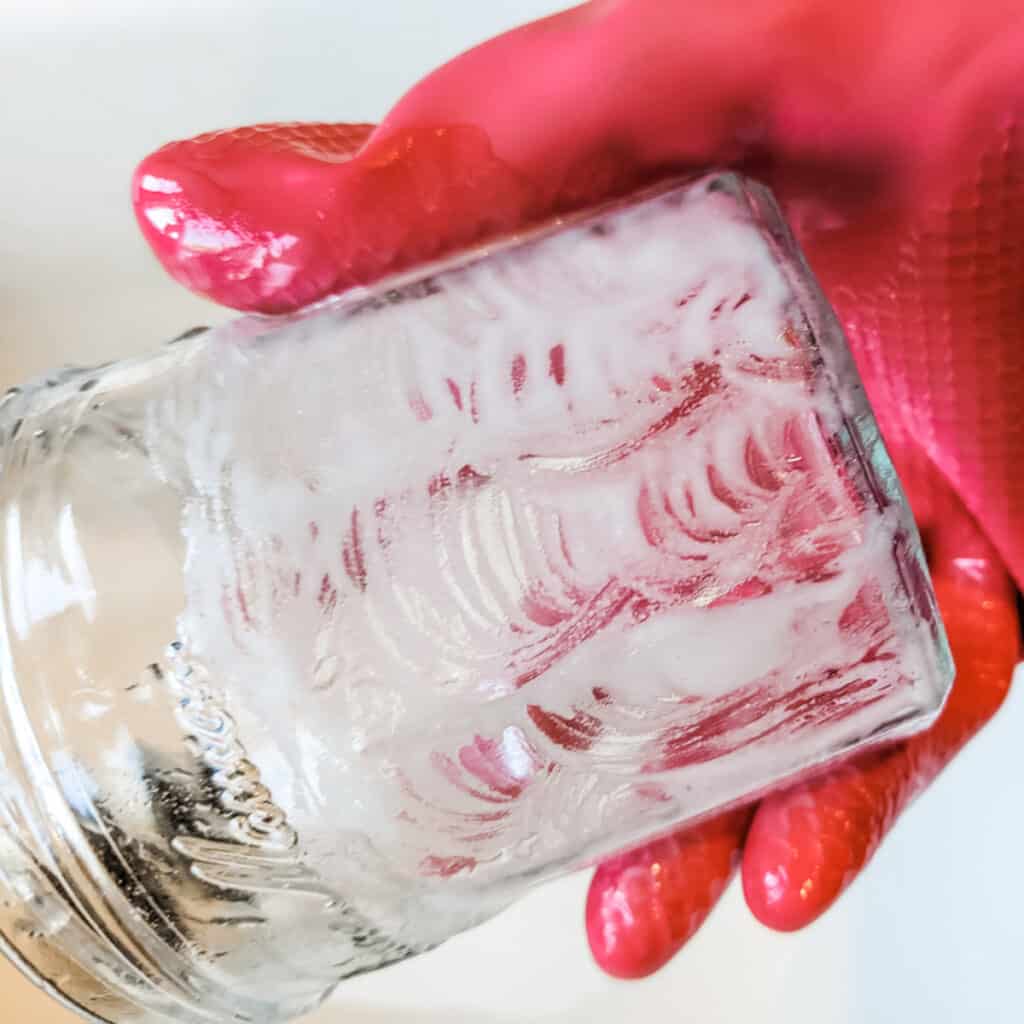
If the label is really bad you may need to add a little more of the paste and let it soak for another 10 minutes. Then scrub for a minute and wash away the paste. My jar is now all clean and free of the label.
Don't throw out another cute jar because you don't want to spend all day scrubbing them. Try this easy way to remove labels from jars.
Kristen @ Joyfully Thriving says
I've used peanut butter and Avon's skin so soft before...but will have to give this a try!
Kristen | The Frugal Girl says
I bought four of those for a bridal shower and I saved the bottles too. I haven't decided yet what to do with them, but they're so beautiful!
Julie says
We like to use them for pineapple juice. I hate the metal taste that pineapple juice gets when you leave it in the can. Plus, it's just prettier than a can in the fridge. 🙂
McKenzie says
AH! I've needed this! Thanks for the awesome tip!!
Julie says
Your welcome!
Marie says
I literally was just looking for a way to do this a few days ago! Thank you so much for sharing. I am going to be pinning this for reference!
Julie says
I hope it works well for you!