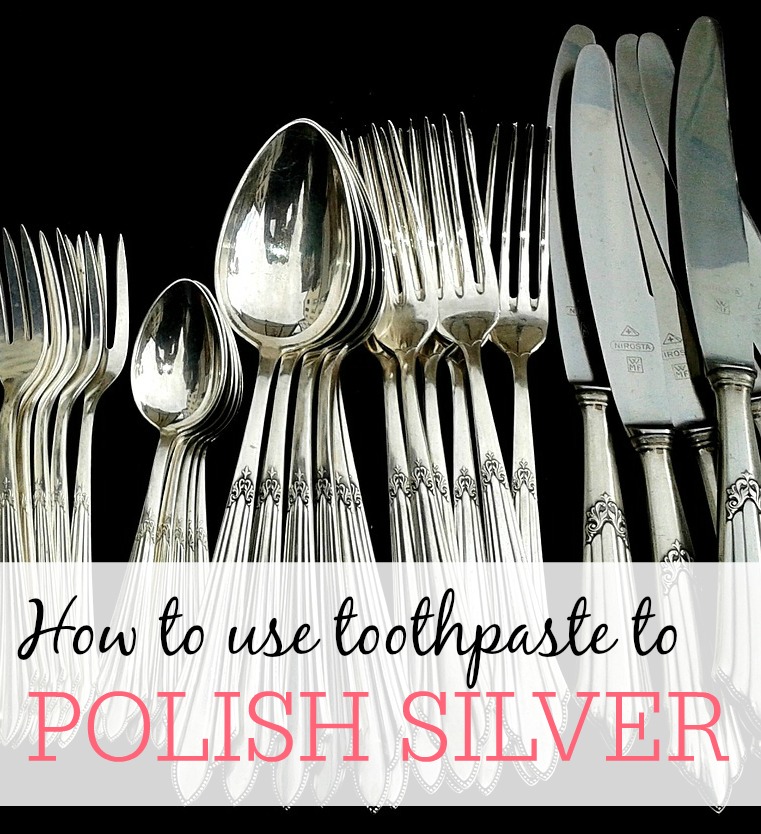
Learn how to clean silver items the easy way using a soft toothbrush and a dollop of regular old toothpaste! There's no need for expensive polishes or harsh chemicals!
For years I just used the store-bought silver polish to polish my silver. But, a couple of years ago I was given my grandma's antique silver set.
The idea of using the silver cutlery after putting the silver polish on it grossed me out. So, when I heard how to use toothpaste to clean silver I was so excited.
It works great and is so easy to use. The best part is there isn't a funny smell from the chemicals in silver polish. There is just a nice minty smell.
What Causes Tarnished Areas on Silver?
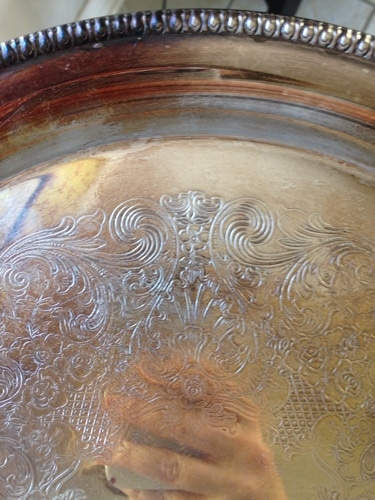
Tarnish is caused by silver reacting with sulfur-containing substances in the air, producing a layer of silver sulfide, which appears as a dark discoloration.
This little hack will work on anything that is pure silver such as silver coins, your favorite silver ring, and a silver necklace.
You may also want to see these homemade cleaners that will save you money!
Plus, you can also clean your tarnished copper pots and pans without expensive cleaners!
What You'll Need
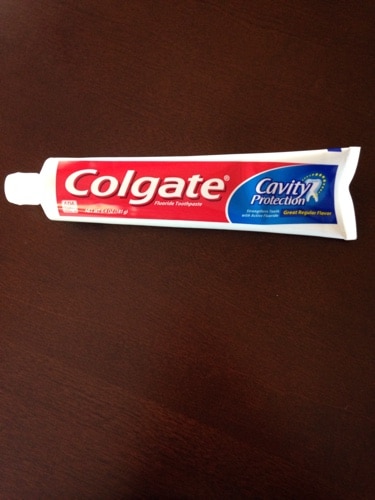
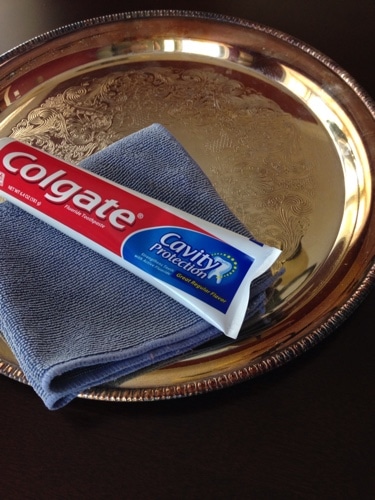
- Colgate toothpaste - I highly recommend using the plain old Colgate white paste, with no gel, whitening, or tartar control. I often get the Colgate free through drugstore deals or at the dentist.
- An old toothbrush or soft cloth - I use these microfiber cloths and love them!
How to Clean Silver the Easiest Way Using Just Toothpaste
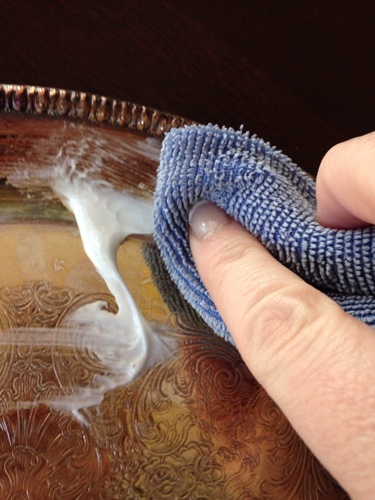
STEP 1: Add a small amount of toothpaste to a microfiber cloth (or toothbrush). Gently rub your tarnished silver item in circular motions.
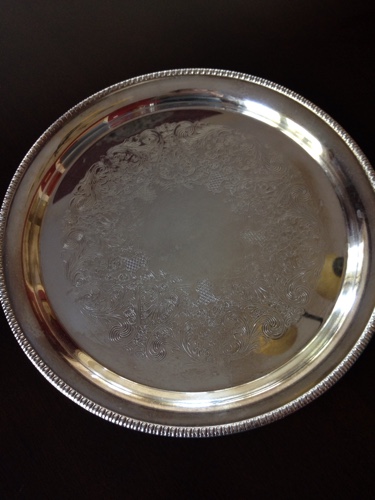
STEP 2: Let it sit for a moment. As the chemical reaction starts, you will see the tarnish disappear.
STEP 3: Once you have finished cleaning, rinse the silver off use a little water, and pat dry with a paper towel or clean cloth.
Can you use toothpaste to clean silver-plated items or sterling silver?
Toothpaste can remove tarnish from sterling silver because it contains mild abrasives. It can make the silver look brighter and cleaner by removing the tarnish.
However, the abrasive particles in toothpaste can also scratch the silver, especially if it's polished to a high shine.
Over time, these micro-scratches can accumulate, dulling the surface and affecting its appearance.
Free Weekly Cleaning Printable
Clean your home in under 30 minutes a day with this free Weekly Cleaning printable!
Like with sterling silver, toothpaste can also clean tarnish off silver-plated jewelry effectively. The main risk with silver-plated items is that the silver plate layer is very thin.
Using an abrasive cleaner like toothpaste can wear down this silver layer over time, eventually exposing the base metal underneath. This is especially a concern with items that are cleaned frequently or have intricate designs where the plating might be thinner.
Other Inexpensive Ways to Clean Silver at Home
Consider trying warm water and dish soap to clean without scratching. If that doesn't work, use a baking soda and water paste. Rinse with cool water, and pat dry with a clean rag.
Soapy Water
Before trying more specific methods, wash your silver with warm water and a mild dish soap. This can remove any residue that might contribute to tarnishing. Use a soft cloth or sponge to avoid scratching the silver.
Baking Soda Paste
Make a paste by mixing baking soda with a small amount of water in a small bowl. Apply the paste to the tarnished silver with a soft, lint-free cloth. Rub gently and rinse with warm water. Pat with a dry cloth.
This method is gentle but still slightly abrasive, so use it with caution on highly polished or delicate items.
Aluminum Foil Bath
This is an easy method to remove tarnish without having to rub.
Line a bowl with aluminum foil, shiny side up. Place the silver items in the bowl, ensuring they touch the foil.
Mix one tablespoon of baking soda and one tablespoon of salt into boiling water (make sure there's enough water so it covers the silver.) Pour this solution into the bowl, covering the silver items.
The tarnish will transfer from the silver to the aluminum foil due to an electrochemical reaction. After a few minutes, remove the silver items, rinse under cool water, and dry thoroughly with a soft cloth.
White Vinegar and Baking Soda
Mix 1/2 cup of white vinegar with 2 tablespoons of baking soda.
Place the silver in the mixture for two to three hours.
Rinse with cold water and dry thoroughly with a soft cloth.
Lemon and Salt Bath
Fill a bowl with warm water, add the juice of one lemon and a tablespoon of salt. Stir to dissolve.
Place the silver items in the solution for a few minutes.
Rinse well and dry with a soft cloth.
Keeping Silver From Tarnishing
- Keep silver in a cool, dry place.
- Use an anti-tarnish bag or cloth for storage. These materials absorb sulfur and other tarnishing agents in the air.
- Store individual pieces in separate plastic bags with an anti-tarnish strip to minimize exposure to air and moisture.
- Avoid storing silver where it can come into contact with rubber, wool, or felt, which can speed up the tarnishing process due to sulfur compounds.
- Reduce humidity around silver items using silica gel packs or a dehumidifier.
- Avoid exposing silver to direct sunlight for extended periods.
- Remove silver jewelry when applying lotions, perfumes, or hairspray, and avoid exposure to household chemicals.
Helpful Tips
- It's a good idea and we always recommend testing in an inconspicuous spot before letting silver soak or begin the cleaning process.
- If you have large silver pieces, you may want to let the antique dealer handle the cleaning so it doesn't ruin the value.
- The same goes for your favorite silver chain or rings. If it's expensive, consider taking it to the jewelry store. Especially if it warrantied.
- Use soft, lint-free cloths to avoid scratching the silver.
- Rinse silver items thoroughly to remove any cleaning residue.
- Dry silver completely to prevent water spots and further tarnishing
Who would have thought that cleaning silver would be so simple, using just a little toothpaste? Not only is it a great way to reduce the costs of cleaners, but there are no nasty ingredients to worry about.
More DIY Cleaning Hacks and Tips


Leave a Reply